What's in my bag? / The art supplies I use / Children's Book Illustrator
Hi guys! Now that I've been posting a bunch of photos and video's of my artwork, I figured it was time to show you what art supplies I use for my work. I'm pretty sure you can tell I use pastels but I thought it would be fun to show you my "bag" with the little nicknacks!
So here we go!
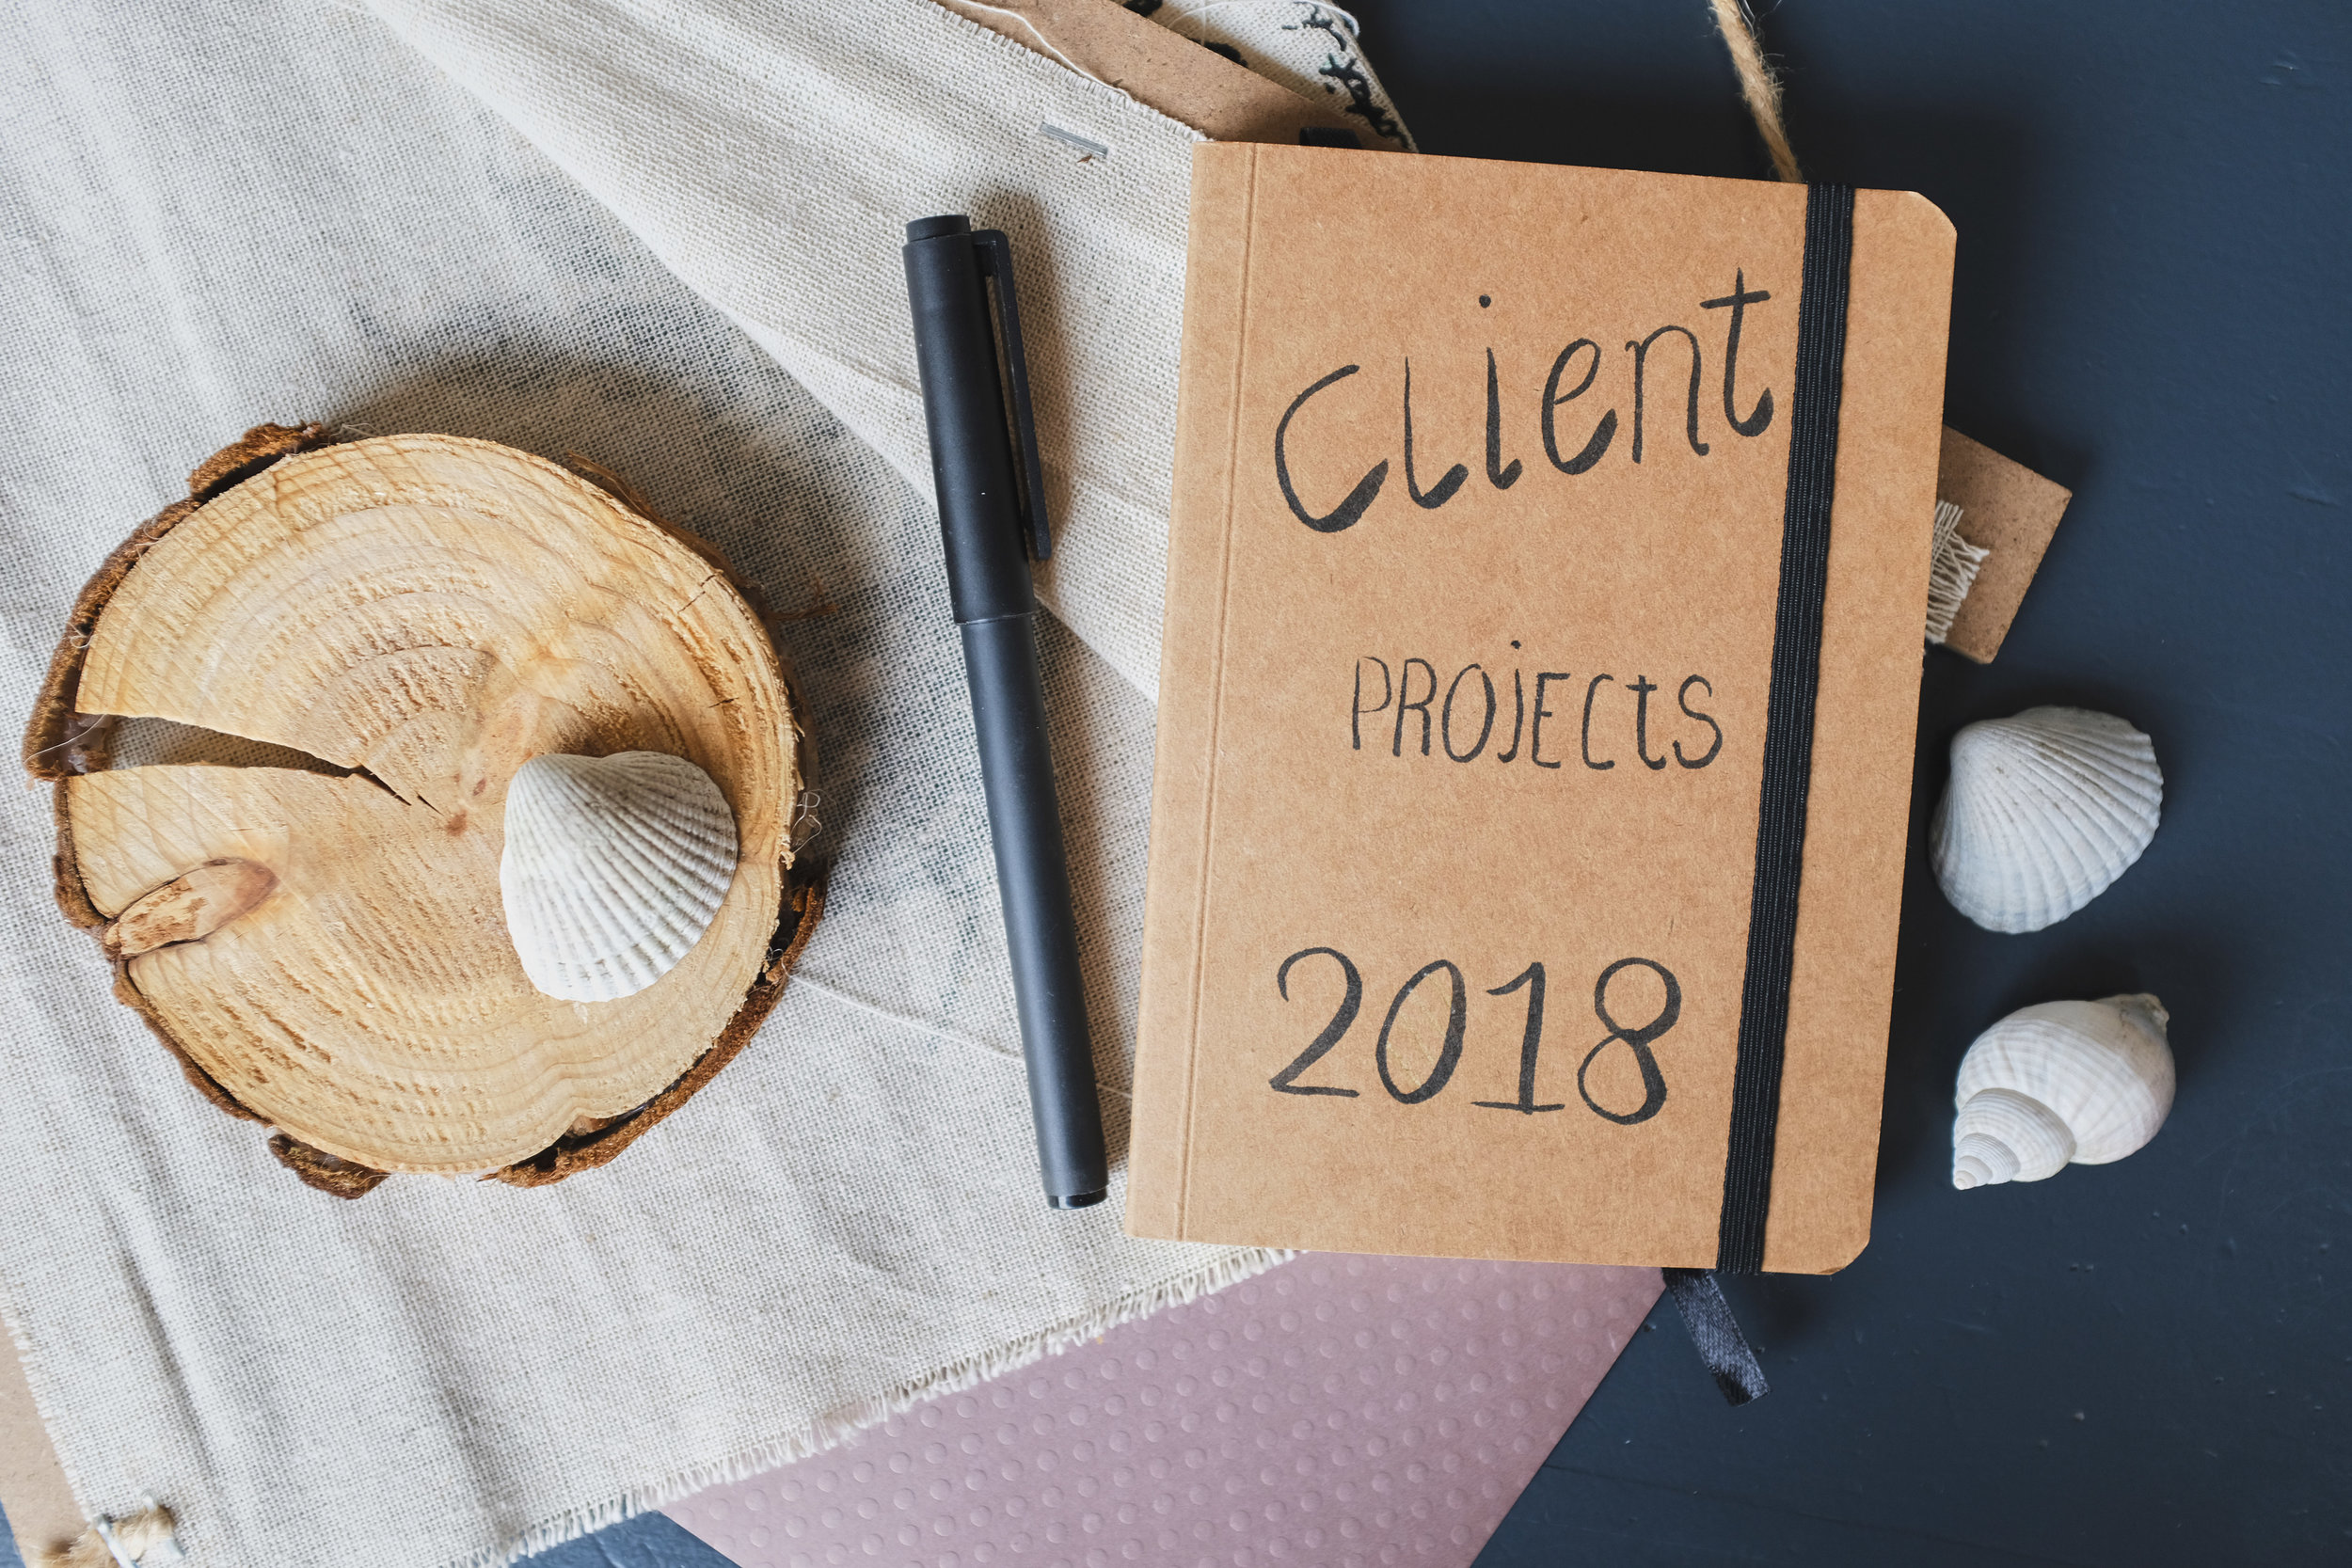
ART PLANNERS
I have two planners that I use; one for my client projects and one for my personal art journaling. This gives me just a quick overview of the projects I need to work on (because my mind can be quite scatterbrained). In my art journal, I mostly write down ideas I have for future personal projects that I would like to accomplish.

PASTEL PENCILS
For my artwork, I use mostly one brand of pastel pencils which are from Faber Castell. I do also use Derwent for bigger areas but Faber Castells are by far my favorite pastel pencils. They're not too hard and not too soft, which makes them perfect for fine work and precise coloring without leaving strokes on the paper. I have an array of colors within my favorite color palette and I try to not go outside of that palette to make sure I stay true to my style as an artist.


BLENDING STICKS
For blending my pastel pencils, I use paper blending sticks. You can buy these at any art store and are amazing for blending your pastel in small and bigger areas. They come in all sizes and you can keep unwrapping them for clean blending. You can also use finger cots ( to protect your skin from getting raw) or even regular cotton buds. I tend to stick to my blending sticks and my fingers.


SHARPENERS
There's a few ways to sharpen your pastel pencils. You can simply use a specific pastel pencil sharpener (see the bronze looking thing below) but I find it hard to get a perfectly sharp point with it. Now, I don't need a supersharp point most of the time but if you need to work really detailed and small, it would be nice to get it as sharp as you can get it. So, you can buy these little wooden things that have small pieces of sandpaper on it. You rub your tip sidewise on it until you get the point you want. Next to the sandpaper is a piece of foam so you can rub off the excess dust from sanding it. Of course, you can also use regular sandpaper that you have lying around the house. Another way is to use a sharp little knife and cut a point.


PAPER
Since I work pretty small and detailed, I don't really like the specific textured pastel papers that are out there because it's hard to draw on top of the tiny bumps. I stick to plain, simple, white paper I buy at a local store. It has a smooth texture and is pretty thick so it works really nicely.
I hope this post was somewhat helpful if you're a beginner pastel artist and if you have any questions about anything at all, feel free to leave a comment below or contact me!
Also, I did a video in which I talk a little bit more detailed about my art supplies and why I love pastels so much! Check it out here or go to my art vlog section.
Have a wonderful day!
xoxo Femke